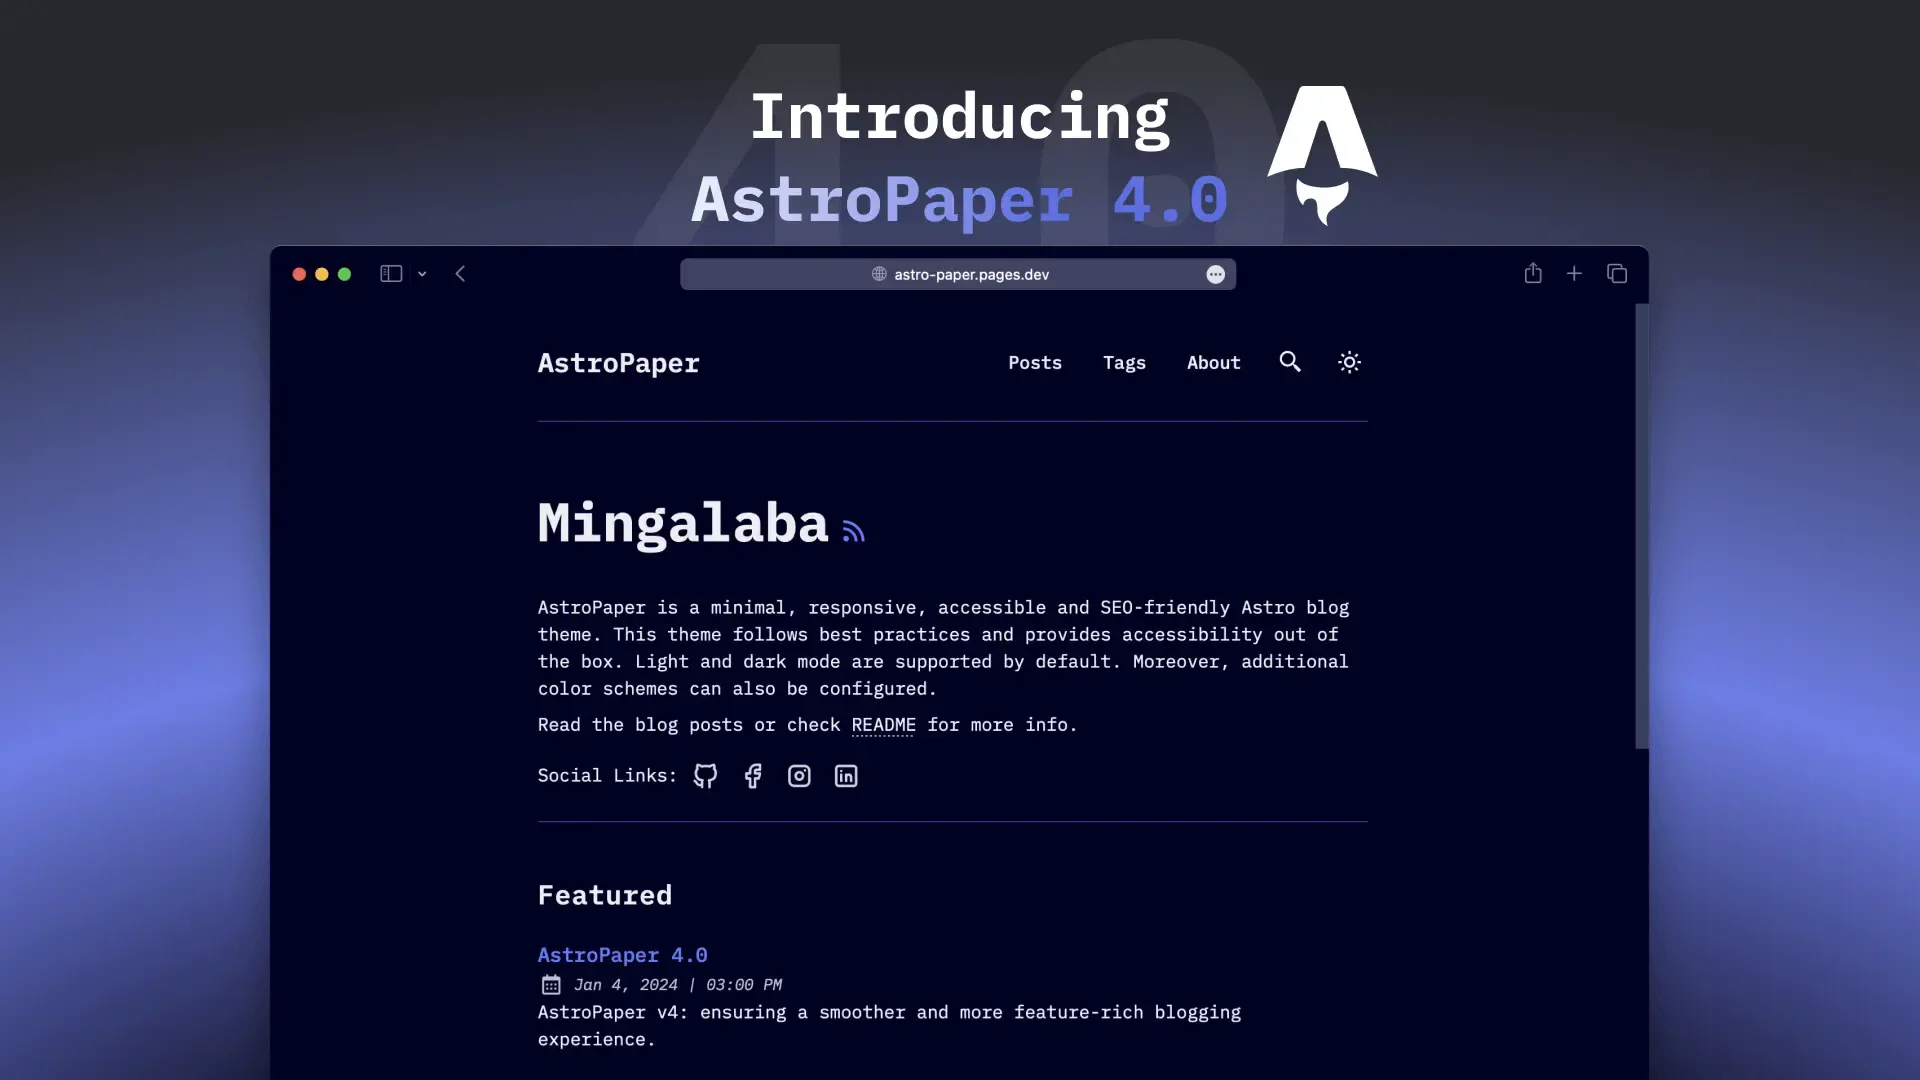
Some weeks ago, I decided to launch this tech blog based on the AstroPaper theme. After the release of Astro 4.0, it’s been upgraded with VS Code snippets, modDatetime and slug support, packages updates, share buttons, back to top link, fixes, etc. You can learn more here.
So, I decided to make the move. As it’s a static blog with no 1-click process, I had to follow manual steps. First, backup some folders and files. I thank my idea to create a commit with items modified during configuration:
src/assetssrc/components/Header.astrosrc/config.tssrc/content/blogsrc/layouts/Layout.astrosrc/pages/about.mdsrc/pages/index.astrotailwind.config.cjs
After that, I deleted all the content except .git and launched the AstroPaper create process in a new folder:
npm create astro@latest -- --template satnaing/astro-paperI took all the files/folders created and moved them to the (almost) empty repository. Again, versioning helps and I was able to easily check each modified item in VS Code (but you can do it with any git GUI).
Then, I reverted unwanted changes to recover the assets, config and content. I was ready for a final check with a local HTTP dev server:
npm run devAs everything was fine, I created a new commit and pushed it. The blog post you’re reading is on AstroPaper v4! The next step is to review a few more settings, like the new social icons or custom share buttons.
Maybe tommorow.
